Mar 24, 2015

Pressed for Flowers


Using my bouquet of flowers from Valentine's Day, I preserved their beauty by pressing them and creating lovely wall art.  

To Press Flowers
There are a couple of way to press flowers, including using a flower press.  I used old college text books (at least I'm putting them to use and getting my moneys worth years later).  Cut the stem, and gently wipe any dirt or dust off of the petals.  Let dry.  Place the flowers in between the pages of the book.  I used a piece of white tissue paper to protect the petals from ink.  Shut the book and place additional books on top of it to serve as a weight.  Keep the flowers in between the weighted book for 10-14 days.  
 

Wall Art
After a few weeks I opened the books to see my newly pressed flowers. In my opinion, I think this craft would work best with brightly colored, vibrant flowers.  The colors that I began with were soft and delicate, and as they were pressed, the color did not pop.
 

I assembled the pressed flowers onto a canvas board and secured them using my glue gun.  Using a black paint marker, I penned an inspirational message.


Mar 15, 2015

#DIYFly: Cut Off...You Still Cute Though!


After a frigid winter, I am so anxious for spring and summer – longer, warmer days, fairs and festivals, and all types of carefree fun.  But you don’t have to wait until summer to start donning your cutoff shorts.  In my excitement for warmer weather, I got #DIYFly using a pair of heavy-weight tweed trousers to make some cutoff shorts and a matching clutch ("cause you gotta coordinate"…in my John Witherspoon voice). 

Cutoff shorts are classic and easy to make.  Since it’s not quite spring-like weather, I opted to cut mine slightly above the knee.  I used painters tape to mark where I would cut and liquid stitch to secure my cuff. 


Easy DIY Clutch
I made a simple, 5-minute, matching clutch using the cut off legs from my trousers.   I applied liquid stitch to close the bottom of the leg.  To add some foundation to the clutch, I cut an old cardboard box and covered it with fabric from the other pant leg and glued it to the inside of the clutch.  Finally, I just folded the top of the pant leg down.  I hot glued magnets from my fridge to keep the clutch closed and applied a broach for a cute sparkly effect.  


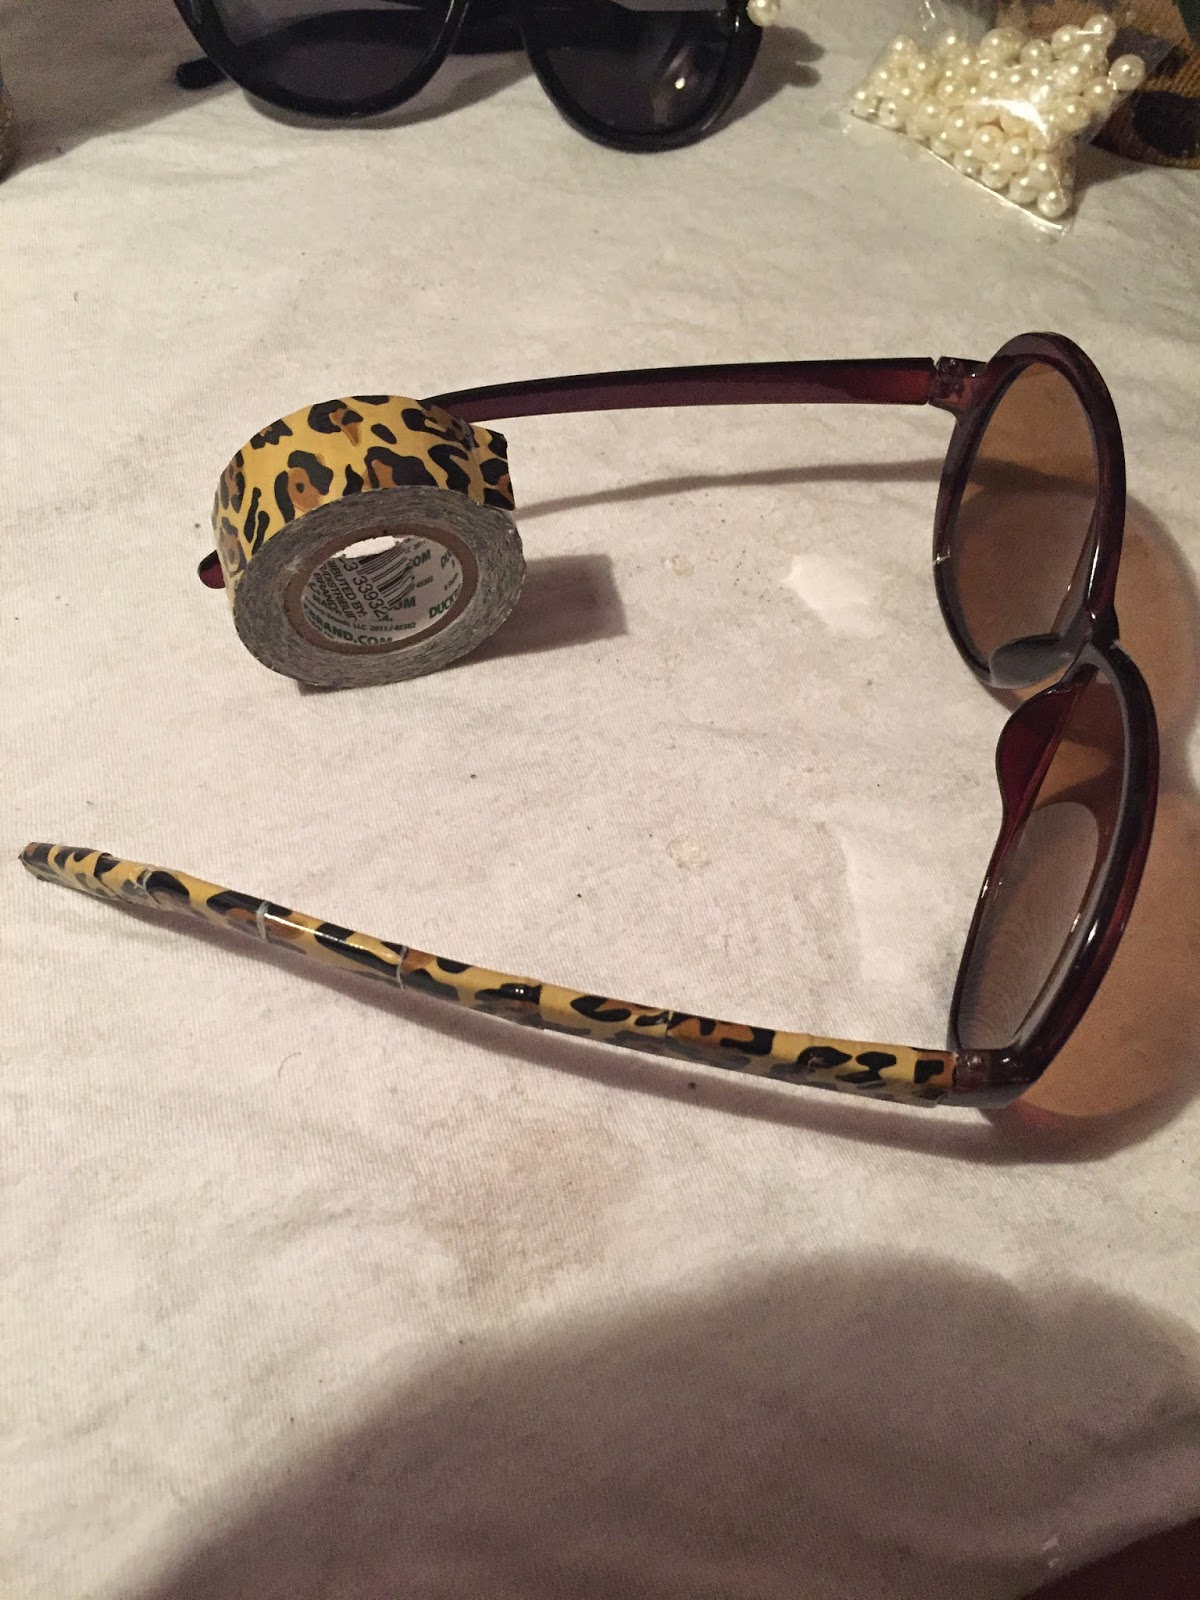
Click here to see how I made the sunglasses featured in this photo. 


Mar 8, 2015

Throwing Crafty Shade


I love designer shades like the next girl, but I can never keep up with my sunglasses and that's hundreds of dollars out of the window.  Since I'm all about being frugal and fabulous, I'm throwing shade at designer frames by upgrading Dollar Store sunglasses - taking them from cheap to crafty chic in approximately 10 minutes.
Items used:  pearls, patterned duck tape, glitter, scissors, & glue gun
For the first pair I used my hot glue gun and applied pearls, outlining the top of the shades.  This literally took only 7 minutes!

I stepped it up a notch and got a little fancier with the next pair.  I love glitter and leopard print, so why not add them both?!  
Using patterned duck tape, I wrapped it around the ears of the glasses.  I did this strip by strip, and wrapped it around twice.  I was going for a crafty nerd look, so I wrapped duck tape around the bridge of the glasses Revenge of the Nerds style.  Next, I painted Mod Podge around the eyes and sprinkled with glitter.  I let it dry for a few minutes and then used a small paint brush to brush away access glitter.


Mar 4, 2015

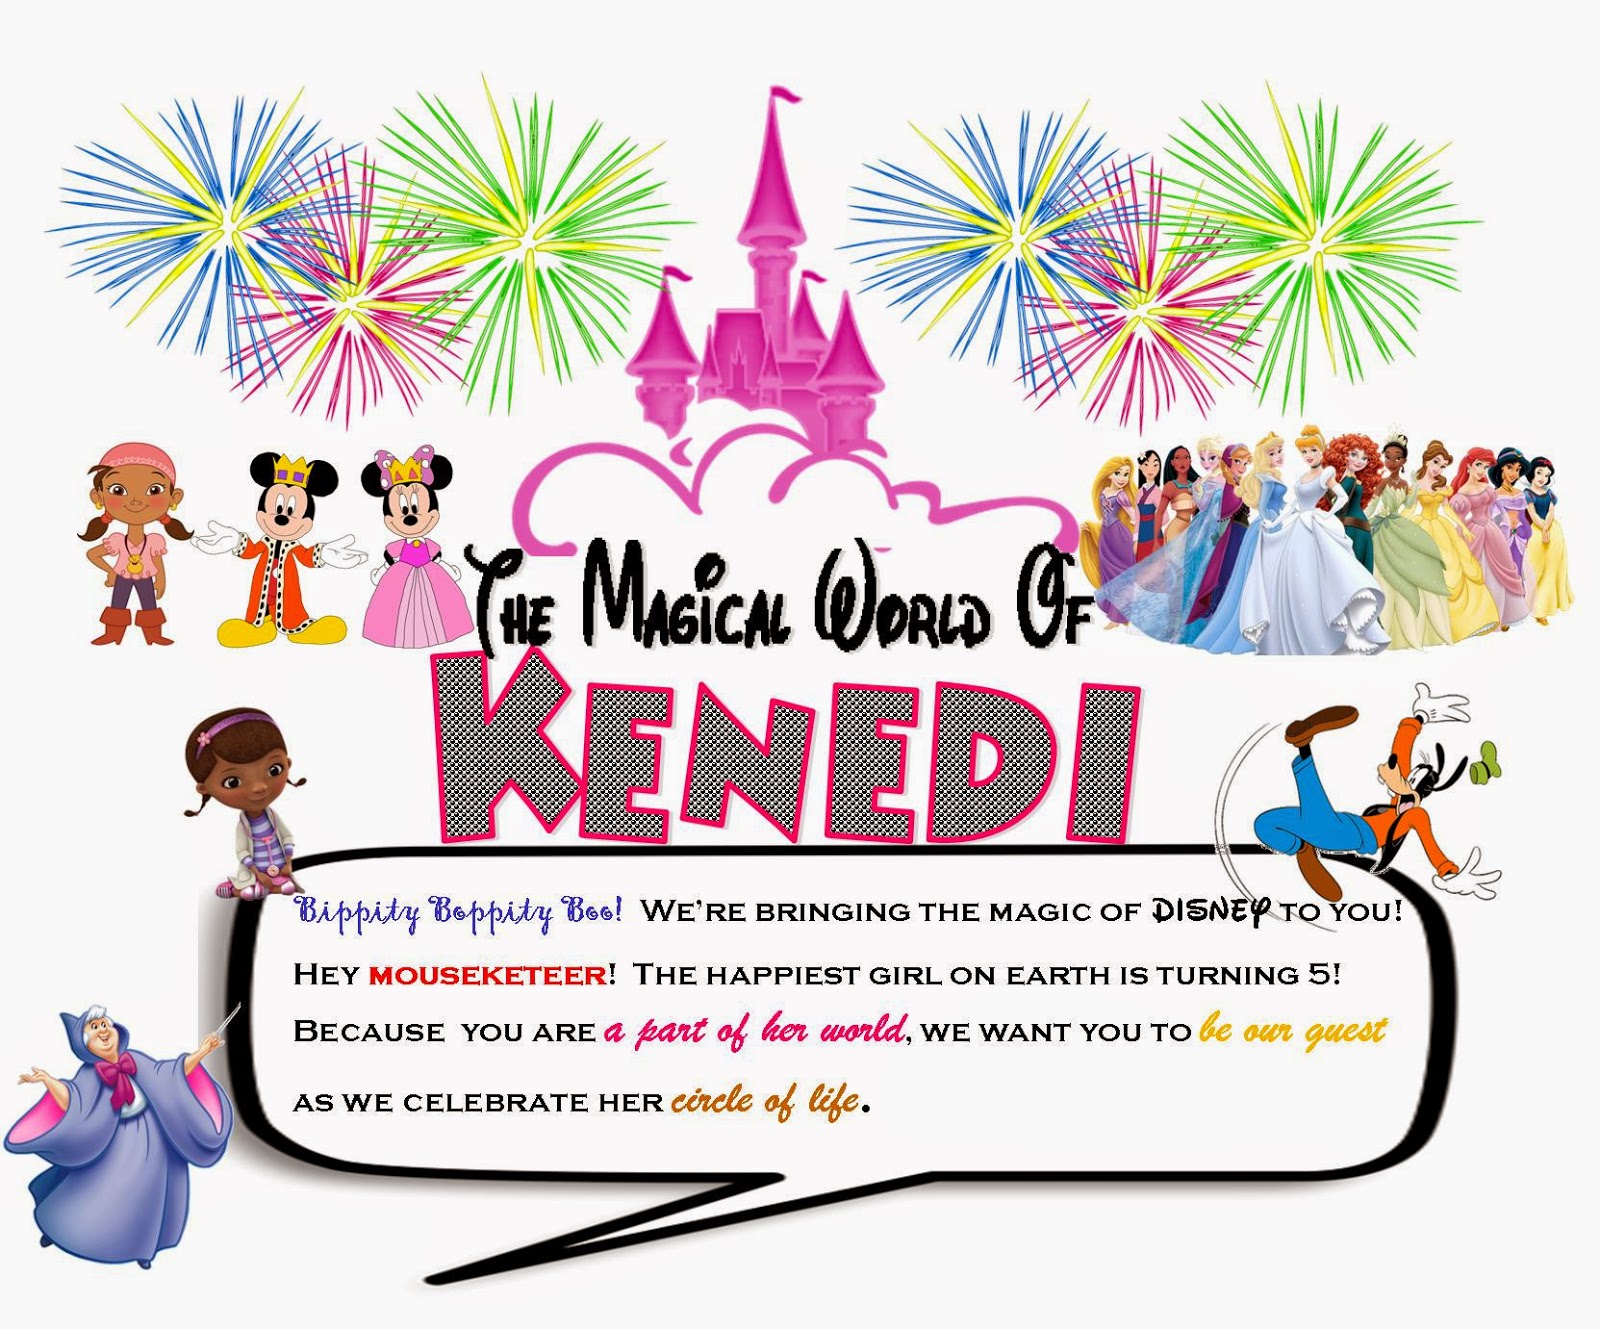
The Magical World of Kenedi


For my daughter’s 5th birthday I did a “Magical World of Kenedi” Disney themed birthday party.  With weather from the movie Frozen as our backdrop, the party went on.   The Magic of Disney was found in the handcrafted party décor and store bought Disney themed decorations. 

Magical World of Kenedi Banner
Using card stock, ribbon and free Mickey Mouse ears printables, I made a personalized banner for the event.  I printed each letter/word on the ears, cut them out and then taped it to the ribbon.


Sweet as a Princess Candy Buffet 
My little one is sweet on princesses so her candy buffet included homemade candy apples as Snow White’s Poison Apples, gummy worms as Belle’s Book Worms, blue candy sticks as Elsa’s Icicles, banana laffy taffy as Rapunzel’s Hair, pixie sticks as Tinkerbell's Faith, Trust and Pixie Dust, and Swedish fish as Ariel’s Fishy Friends.  I made place cards for each treat using free printable princess borders found online and some card stock paper.  Kenedi has a princess board game that I used for the pop up castle. 


Mickey and Minnie Tabletop Centerpieces
To make centerpieces for the table I used round Styrofoam balls from JoAnne Fabrics and Crafts, paint that I had on hand, toothpicks, and handy dandy red Dixie cups.  I painted the balls black and stuck the smaller balls to the larger ball as ears using toothpicks.  I hot glued the Mickey head to the bottom of the Dixie cup.  Using black cardstock, I attached arms to the cups and cut out little mickey hands.  To turn Mickey into Minnie, I simply added a bow in between the ears.  So easy my 4 year old (not quite 5 at the time) can do it, and she did!

A 52 inch Mickey Mouse balloon greeted guest as they arrived.  There was also a giant Jake and the Neverland Pirates balloon to man the pirate bean bag toss station.  Additionally, there was a moonbounce, ball crawl, twister, Disney Princess photo station, and a Doc McStuffins piñata.  


A party fit for a princess, filled with craft magic and love.