Mar 4, 2015

The Magical World of Kenedi


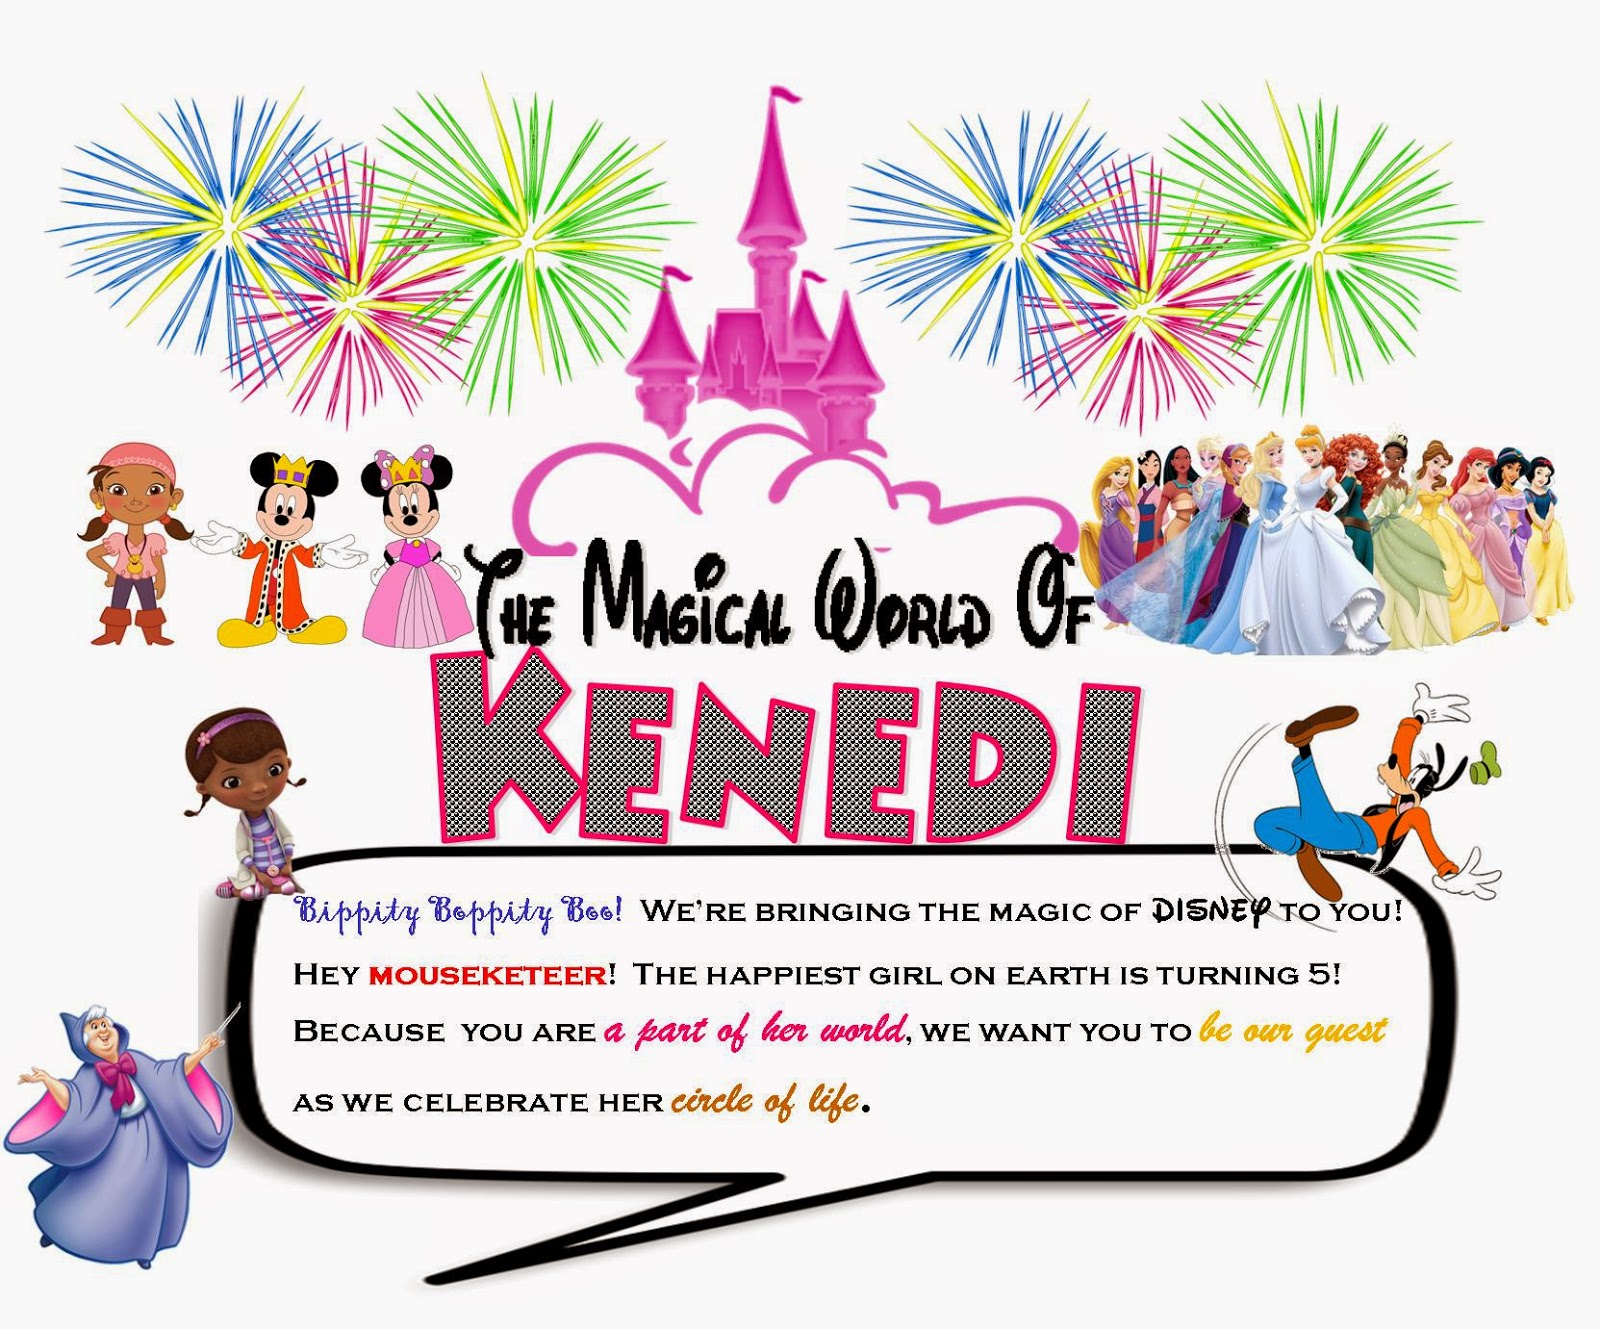
For my daughter’s 5th birthday I did a “Magical World of Kenedi” Disney themed birthday party.  With weather from the movie Frozen as our backdrop, the party went on.   The Magic of Disney was found in the handcrafted party décor and store bought Disney themed decorations. 

Magical World of Kenedi Banner
Using card stock, ribbon and free Mickey Mouse ears printables, I made a personalized banner for the event.  I printed each letter/word on the ears, cut them out and then taped it to the ribbon.


Sweet as a Princess Candy Buffet 
My little one is sweet on princesses so her candy buffet included homemade candy apples as Snow White’s Poison Apples, gummy worms as Belle’s Book Worms, blue candy sticks as Elsa’s Icicles, banana laffy taffy as Rapunzel’s Hair, pixie sticks as Tinkerbell's Faith, Trust and Pixie Dust, and Swedish fish as Ariel’s Fishy Friends.  I made place cards for each treat using free printable princess borders found online and some card stock paper.  Kenedi has a princess board game that I used for the pop up castle. 


Mickey and Minnie Tabletop Centerpieces
To make centerpieces for the table I used round Styrofoam balls from JoAnne Fabrics and Crafts, paint that I had on hand, toothpicks, and handy dandy red Dixie cups.  I painted the balls black and stuck the smaller balls to the larger ball as ears using toothpicks.  I hot glued the Mickey head to the bottom of the Dixie cup.  Using black cardstock, I attached arms to the cups and cut out little mickey hands.  To turn Mickey into Minnie, I simply added a bow in between the ears.  So easy my 4 year old (not quite 5 at the time) can do it, and she did!

A 52 inch Mickey Mouse balloon greeted guest as they arrived.  There was also a giant Jake and the Neverland Pirates balloon to man the pirate bean bag toss station.  Additionally, there was a moonbounce, ball crawl, twister, Disney Princess photo station, and a Doc McStuffins piñata.  


A party fit for a princess, filled with craft magic and love.  

Feb 6, 2015

Kells Chic Crafting Corner


Printing for Kharismatic Kreations and the majority of the Crafty Kreations are done outside of my home.  It’s a blessing and a curse.  It’s a blessing because I have access to a space that is perfect for screen printing and available to me free of charge.  It’s a curse because every now and then creativity strikes in the comfort of my own home and the majority of my supplies are over in the print studio, or I just don’t have the space in my home to craft…until now.

Scrolling through Pinterest, I’ve seen all kinds of ideas for reading nooks.  I thought instead of a reading nook, what if I created a crafting corner in my bedroom?  So when the creative light decides to shine on my thoughts, I can immediately bring them into fruition.  I created my budget friendly, chic crafting corner using items I already had around the house.

Using Microsoft Word, I easily created wall art by printing my design on cardstock, and taking it to the old school by applying Elmer's glue to the letters and sprinkling it with glitter.


Everyone has used or seen the red dixie cups.  They're even featured in Beyonce's 7 Eleven video, "don't you drop that alcohol.."  No alcohol here, only glitter!  I applied Mod Podge to the cups and rolled them in glitter.  Stick a thumbtack through the inside and stick it to the wall. Makes for a great utensil holder.  


To tie everything together, I applied glitter to a clipboard that I got from the $1 Spot at Target.  


I already had an old, desk chair.  But is was a bit dirty and blah.  I upcycled it, making it cute and girly.

I used old nighties to turn my chair from blah to oh la la.  For the bottom of the chair, I simply pulled the gown over the chair and cut off the access fabric.  I glued down any remaining fabric under the seat.

For the top of the chair, I pulled the gown back and tied a bow.
The great thing about this approach is if the chair gets dirty, of if I get bored with the design, I can just remove the covering and start all over with a fresh new look.

I added a throw pillow for some extra posh appeal.  Viola! A Betsy Johnson inspired craft chair.

Feb 2, 2015

The Woman Who Wears Her Heart on Her Sleeve


Shop this Crafty Kreation!
Kharismatic Kreations and Crafty Kreations met and created a love child.  Custom printing was done on a sweatshirt.  Add in an extra dose of love by cutting felt fabric and stitching it to arms of the shirt; makes for an uber cute shirt that celebrates love.

#DIYfly Shirt Skirt


My dresser drawer was overflowing with shirts and tops that I have not worn in years.  Instead of throwing them all away, I went through the pile and decided to repurpose a shirt to make a totally different fashion statement.  It was so simple and I didn't have to sew a single stitch!  

Started off with an old striped fitted shirt.  It already had pockets to it so that was an added bonus.  

Using my handy liquid stitch (love this stuff!), I sealed the arms of the shirt.  

Cut the inside label off and put the shirt on upside down.  


Jan 30, 2015

Crafty Canned Goods


Finally!  A use for mix match gloves and socks.  Make a decorative vase or utensil holder in 5 minutes using an empty can.  See how I did it in the video below.  


Jan 20, 2015

Crafty Kreations Fun! Affordable, Retro Glam Birthday Dinner in 3 Days!

To celebrate my mother’s birthday, at the last minute, and only a few days prior to, I decided that I was going to cook her a 3 course dinner.  Within a few hours of my original thought, the creative juices in my head started to flow and the thought of a simple dinner transformed into a quick and affordable 50’s Retro Glam Dinner Party.  See how I pulled it off in 3 days below.
  1. It’s all in the details.  Set the tone and theme of the event with the invitation.  In Microsoft Publisher, I used a simple border and font to mimic the look and feel of a diner in the 50’s.  I saved the document as a picture.  Because of the time constraint, I sent the picture invite out as a group text to family and friends.  Cost:  $0.00 

  2.  Plan your menu.  Try to stay consistent with the theme throughout the planning process.  I thought of foods that were reminiscent of the 1950’s, and foods that I could actually pull off cooking and enjoy eating.  Cost:  less than $100.  Our traditional 50’s menu items included: Deviled Eggs, Pineapple Honey Glazed Ham, Pot Roast, Mini Pineapple Upside Down Cakes, and Ice Cream Sundaes with all the fixins.
    The Melt in Your Mouth Pot Roast was phenomenal if I say so myself!
     
  3. Set the scene according to your theme.  I actually prefer vintage, rustic home decor so this wasn't really a stretch for me.  To add some 50's character to my home, I printed out memes of 50's pinup housewives, printed them on card stock and placed them throughout my house.  You can get memes from Pinterest or Google images.  I also printed out name cards for all of the 50's menu items, and a diner sign.  To decorate the table, I used a plain black Dollar Store table cloth, and wrapped my existing place mats in red and white tissue paper (this made for easy clean up as well).  Pull in other items that you may have around the house to use.  Cost:  $3.00
  4. Your entertainment should match your theme as well.  I played music of the 50's using Pandora's 50's Rock and Roll station for free.  For this event, I suggested that attendees dress for the occasion, which was entertaining in itself to see what they came up with.  Keeping with the 50's theme, we had a hula hoop contest.  I also did a 50's trivia game by researching current events of the 50's and quizzing the guests.  Cost:  $3.50
Overall my mother's 50's Retro Glam Birthday Dinner was a success.  It came together in 3 days and approximately $105 for a party of 10-12.  


Jan 7, 2015

Baby It's Cold - Decorated Touchscreen Gloves Help Take the Chill Off

Yesterday we had our first real snow accumulation and it nearly crippled my commute to work.  Winter is definitely here and the hawk is out!  A few months ago I crafted these uber cute and practical touchscreen capable gloves.  I designed a variety of colors and styles to suit any personality.  Even better, they allow you to withstand the frigid weather and take as many selfies - or comment and share this post (hint, hint), while keeping your hands warm simultaneously.

Stay warm, but cute!

Pre-made gloves are for sale for $7.